How to Install a DVD Player in Your Car
YOURMECHANIC
2017-08-07 10:38:54
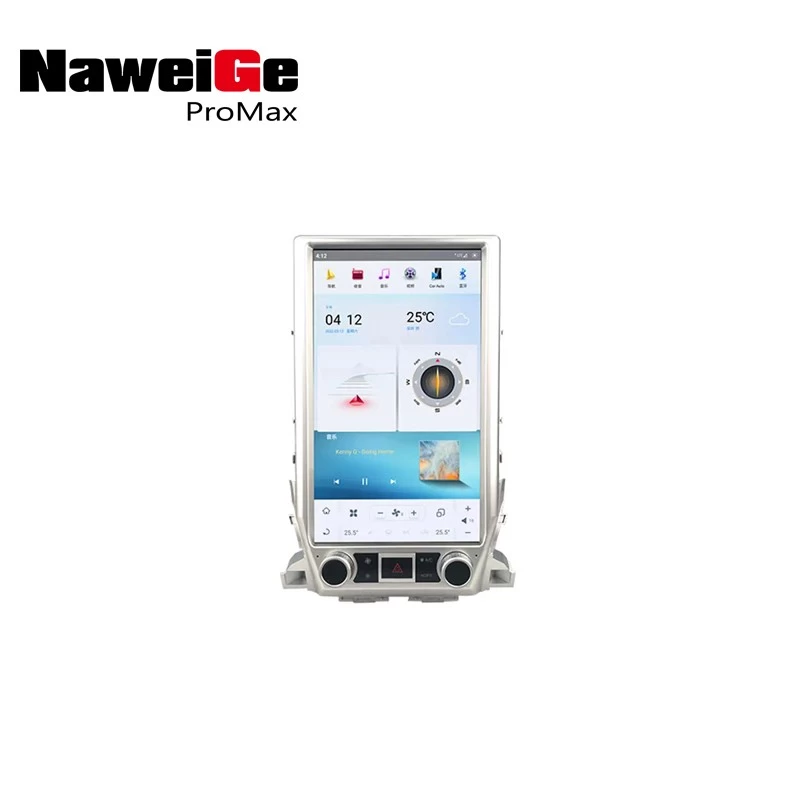
A DVD player installed in your vehicle can be a source of endless entertainment for passengers on long road trips, as well as a way to keep things interesting for the kids. Installing a DVD player can be a simple addition that adds value and excitement to your vehicle. These DVD players come in many forms: some fold out from the radio, some drop down from the ceiling, and others can be installed into the back of the headrests. You’ll need to decide which style of DVD player best suits your needs.
This article is going to cover the installation of the in-dash, pop-out DVD players. With a few simple tools and a few hours of time, you can add hours of entertainment for your passengers.
Warning: the driver should avoid watching the DVD player’s dash screen while driving. Good judgment and caution should be used, and attention should always be paid to the road.
Part 1 of 3: Removing the radio
Materials Needed
Blue painter’s tape
DVD player
Instructions on how to remove your car’s radio
Plastic pry bar set
Radio removal tool
Screwdriver
Towel
Step 1: Prepare the radio for removal. Disconnect the negative battery cable on the car battery before doing any work around the instrument panel.
Mask the area around the radio with the painter’s tape. This is done to prevent any [scratches to the dashboard](Link to article on customizing/painting dashboard), which can be an expensive repair.
Next, drape a towel over the center console. The towel is used to give a safe location to set the radio and DVD player, and to protect the console.
Step 2: Locate any screws that hold the radio unit in place and remove them. The screws may be hidden under various panels on the dashboard, and the locations will vary between make and model.
Refer to the manufacturer's removal instructions.
After the unit is unbolted, use the plastic pry bars to pull up on the edges of the radio unit and remove it. Most units are screwed in, and also have clips holding them in place. The plastic pry bar is used to avoid damaging the unit and breaking these clips.
Once the unit is removed, unplug any wiring that connects to the radio and holds it into place.
Part 2 of 3: Installing the DVD player
Step 1: Locate the wires that power the radio. Find the conversion wiring harness: it will have a rectangular plastic port with many different colors of wires.
This harness will be plugged into the existing radio wiring and then plugged into the new DVD player, which makes wiring a breeze.
Step 2: Install the DVD player. The DVD player should clip into place.
After the unit is clipped in, install the screws that were removed with the radio unit.
Check the fit of the DVD unit: depending on the radio, various adapters and faceplates may be needed for proper fitting of the DVD unit.
Part 3 of 3: Testing the unit
Step 1: Reconnect the negative battery cable. Make sure the DVD unit turns on.
Step 2: Check to see if the DVD player functions operate correctly. Check the radio and CD functions and make sure the audio is working properly.
Insert a DVD into the player and make sure the video and audio playback works.
At this point, you should have a properly installed fold-out DVD player in your vehicle. Sit back and watch your passengers enjoy all the hard work you put in the next time you take a trip!
Remember, the driver should never watch the DVD player screen while driving.
If questions arise at any time during installation, don’t hesitate to reach out to YourMechanic. Our certified mobile mechanics are standing by to answer any questions you may have, or come out to perform a service for you.

